
Installation
K-STONE ENGINEERING / ENCLOSURE INSTALLATION
Cleanroom enclosure installation brings the supplied panels, doors, windows and profiles into the actual building. A defined sequence helps the site team coordinate these components with supports and service connections.
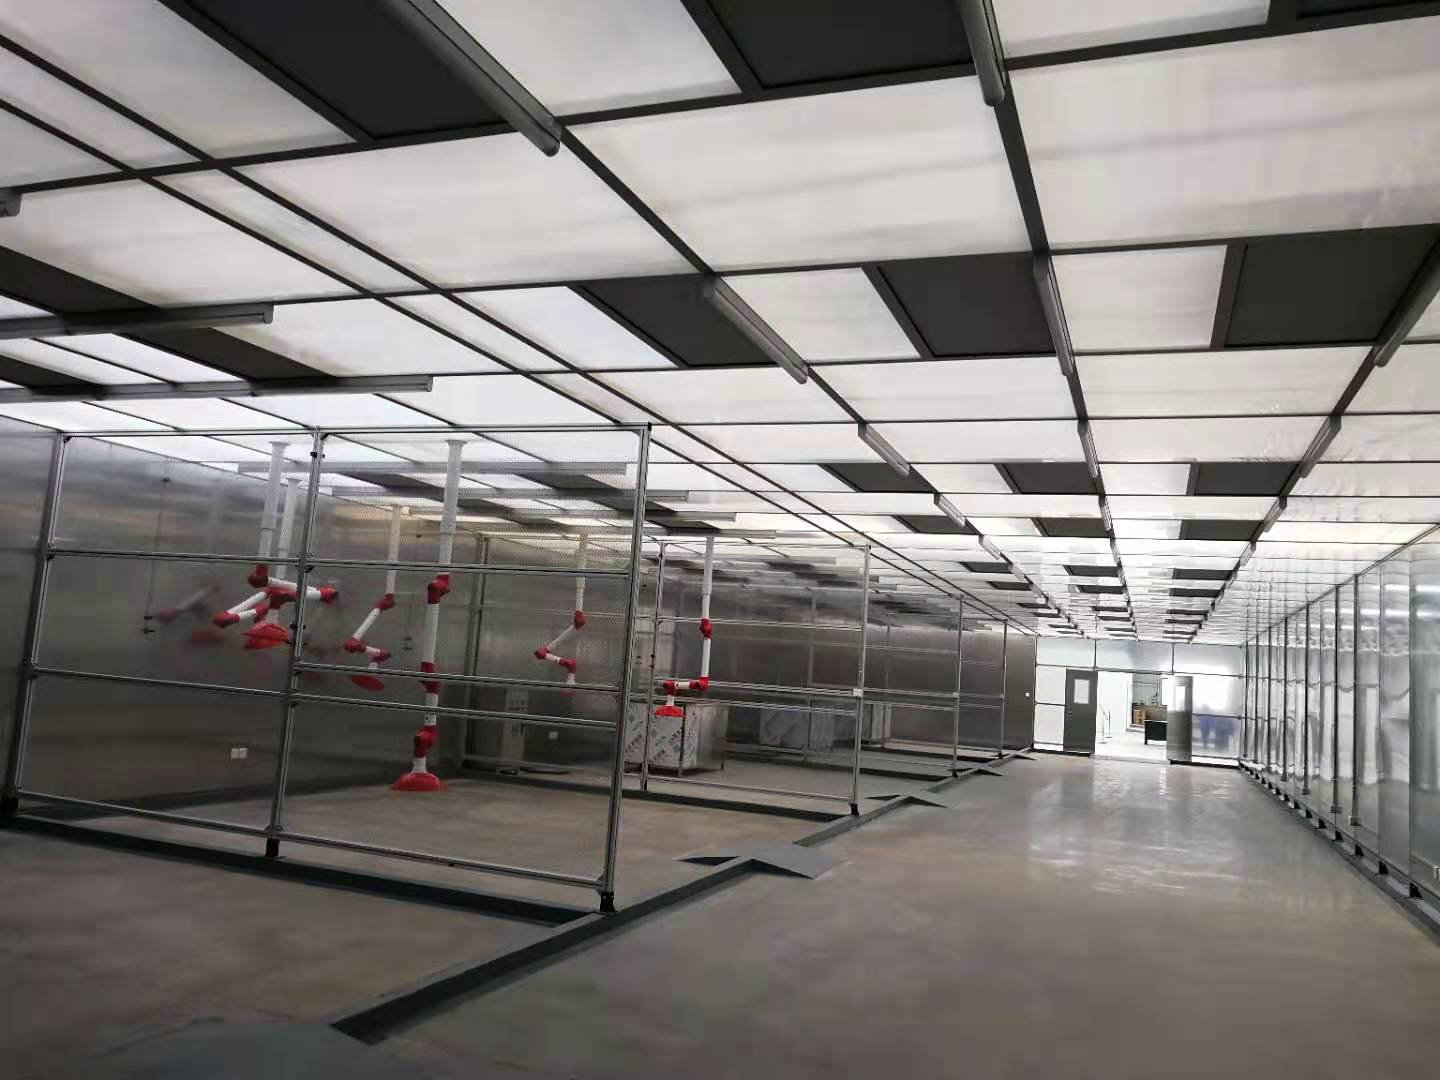
Work Through the Installation Sequence
-
01
Confirm the starting conditions
Review the latest layout, reference levels, support details and work-area access. Confirm which preceding works must be ready before enclosure components are positioned.
-
02
Set out the panels and joints
Check supplied components against their identification and dimensions. Follow the agreed setting-out references, joint positions and edge details while coordinating openings and adjacent work.
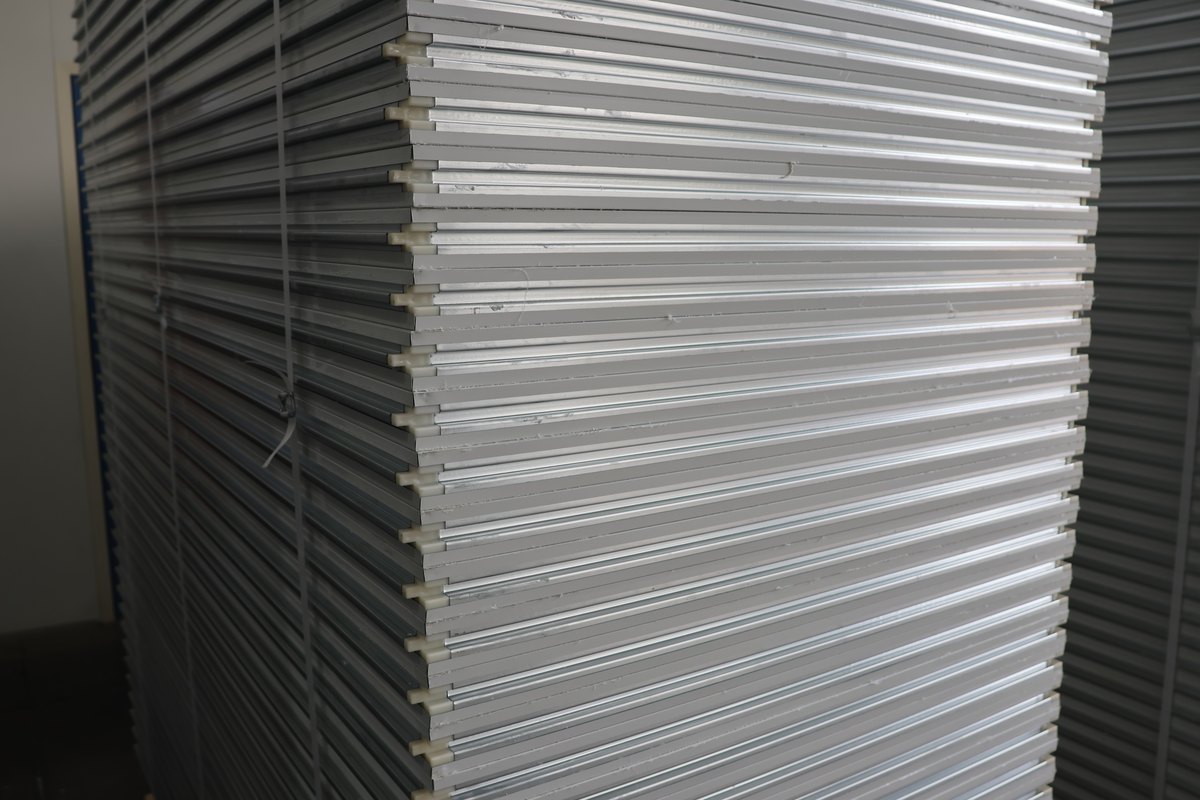
Stacks of panel edge profiles, with white facing and visible protective edges. -
03
Bring doors and windows into the wall
Match each opening to its frame and component reference. Check the installation position, agreed clearances and hardware arrangement before the surrounding finishes and seal details are closed.
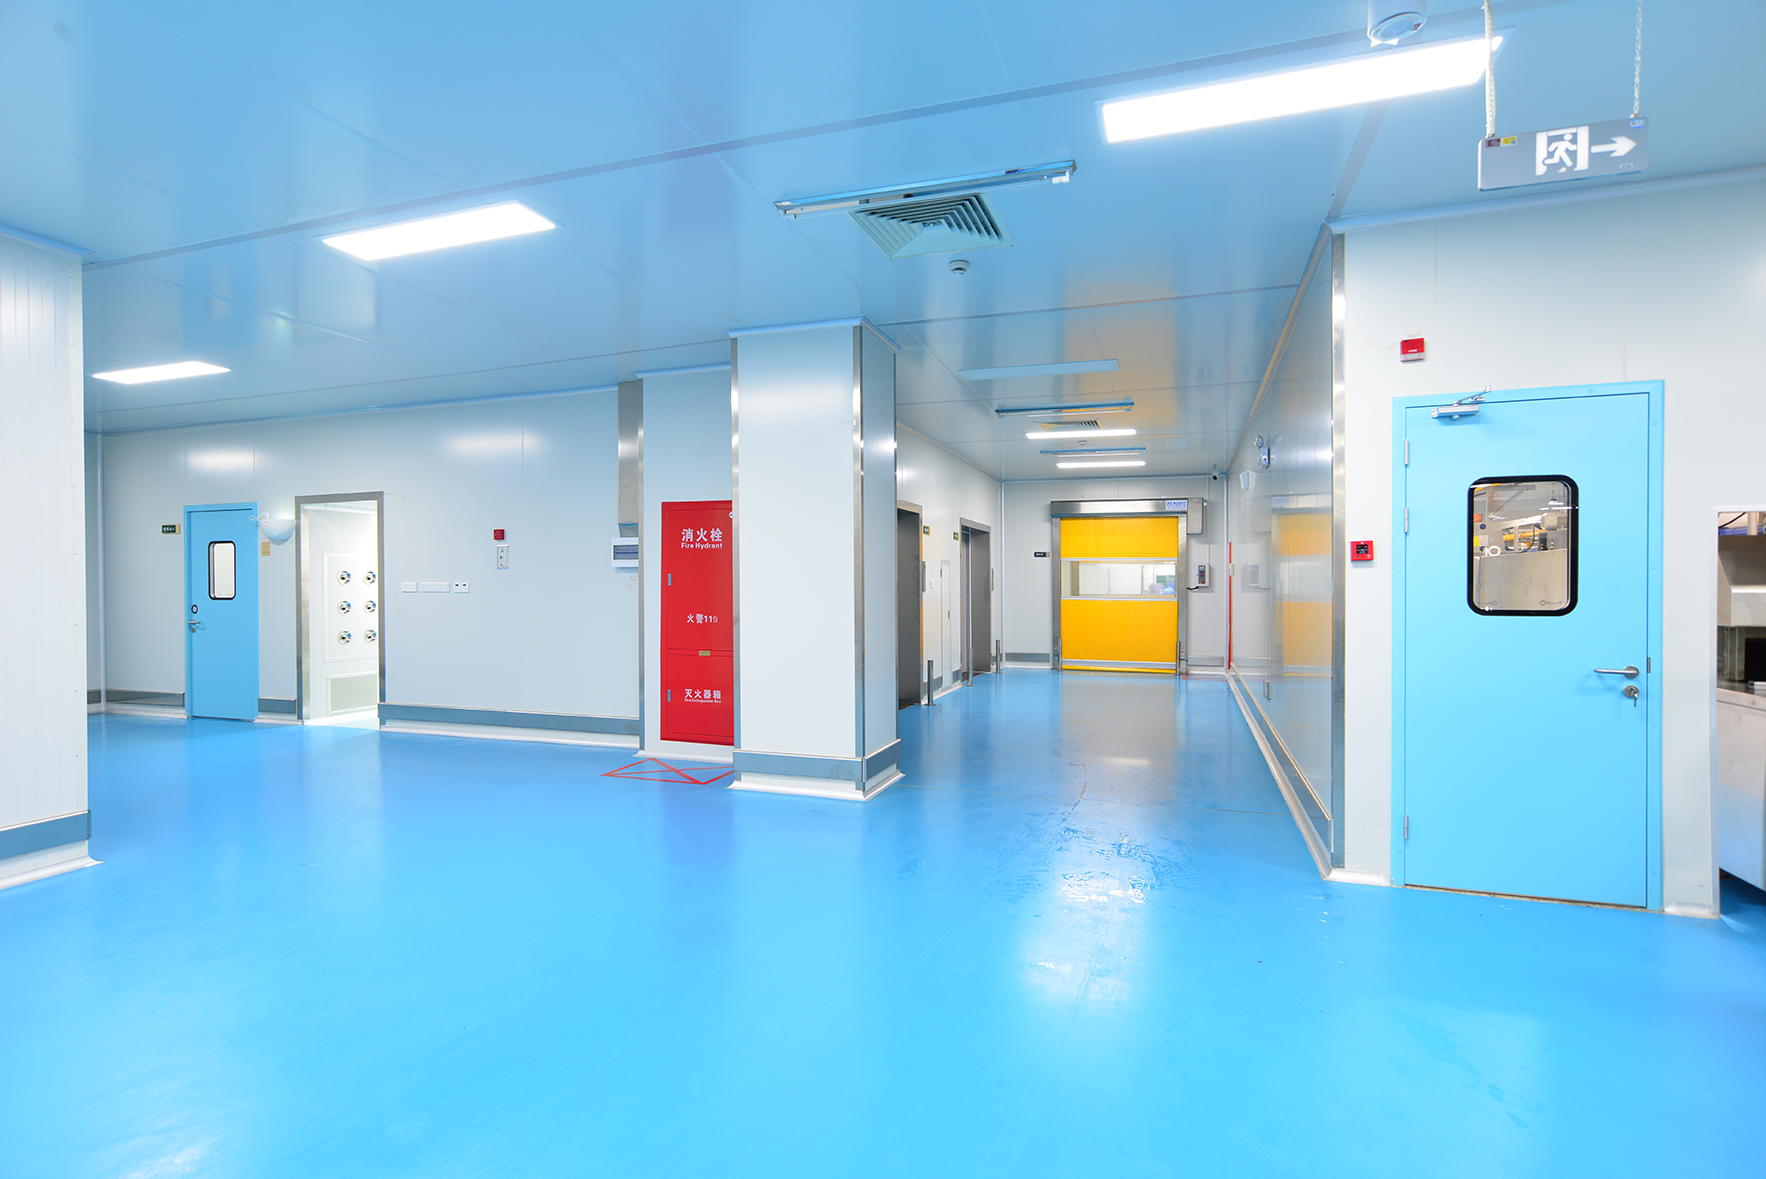
Blue doors with vision windows in a panel-lined room -
04
Coordinate the service interfaces
Resolve air-terminal positions, cable entries, pipe openings and maintenance access with the relevant teams. Keep enclosure supports and the agreed sealing details visible through this handoff.
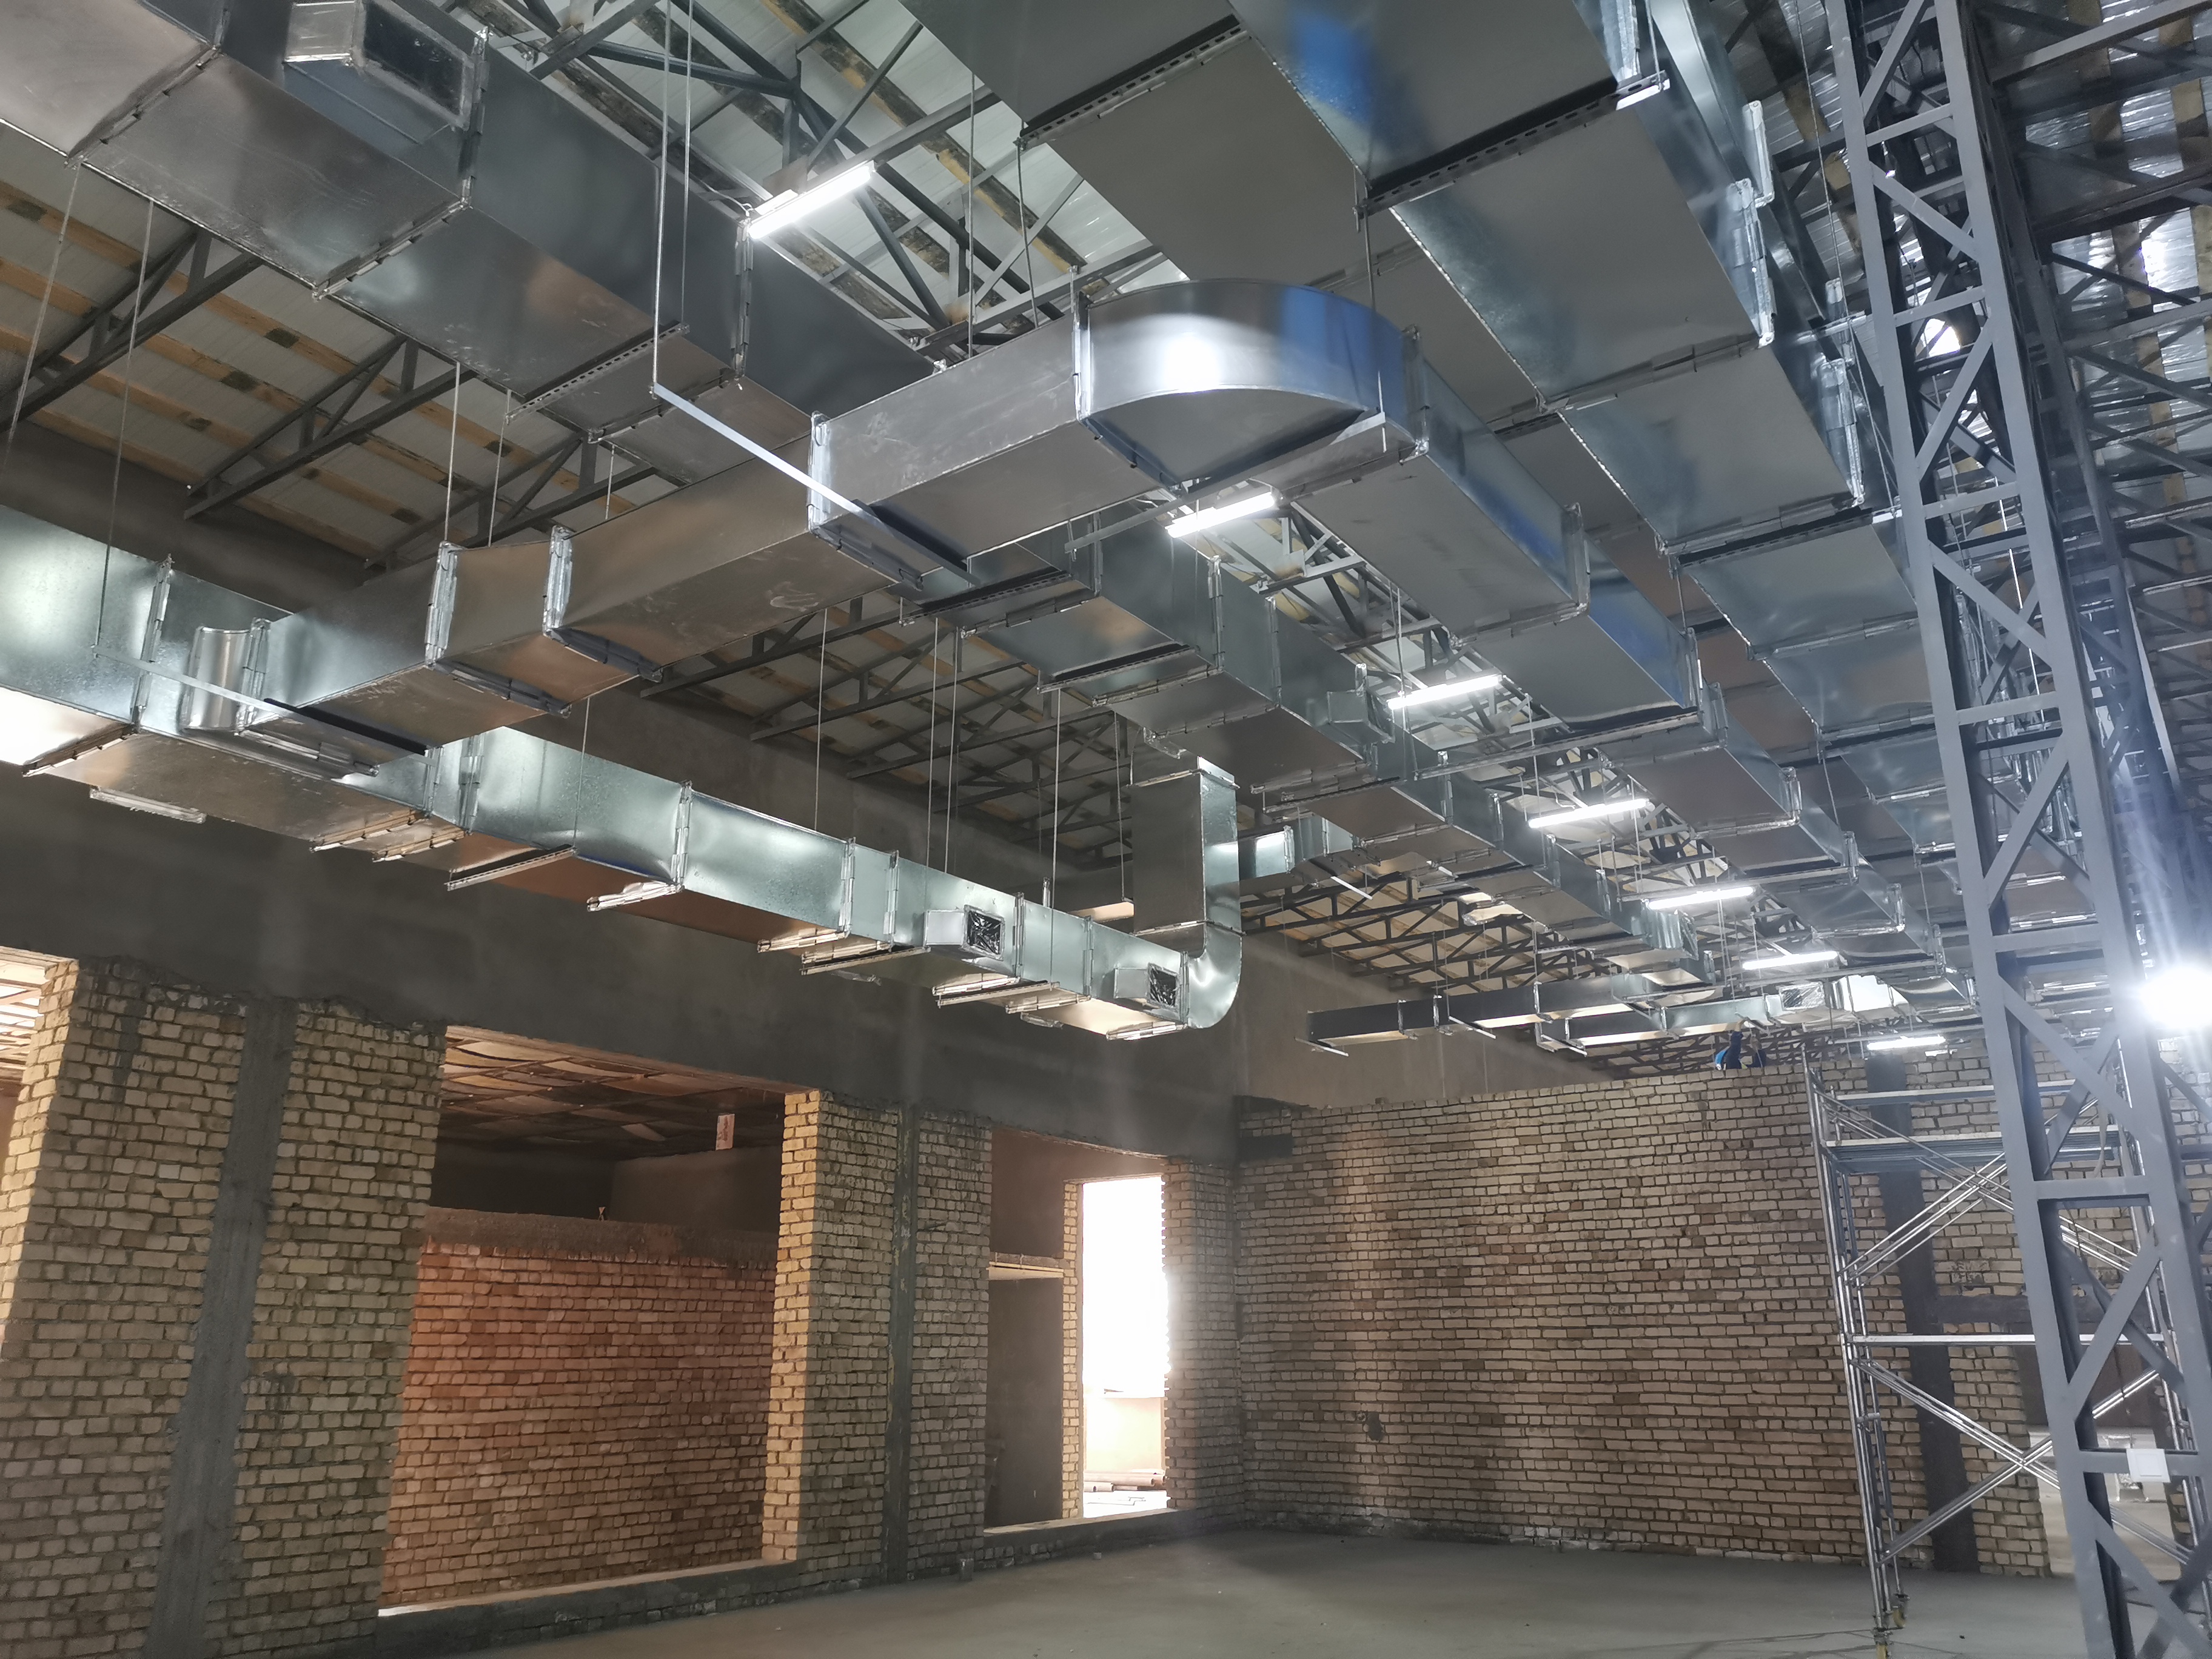
Rectangular metal ducts and suspension rods above brick walls inside a building under construction. -
05
Record the installation checks
Review joints, corners, openings and access against the agreed details. Identify remaining items, assign the next action and keep installation records ready for the startup and handover review.
Prepare the Site Information
- Approved enclosure layout and component schedule
- Support, floor and service-interface details
- Installation area, access route and delivery sequence
- Responsibilities for handling, fixing, sealing and site checks

 Home
Home Products
 Contact AILV & K-STONE
 News
News